
Installation Best Practices: Avoiding the Most Common V-Belt Mistakes
A V-belt that fails within days of installation is almost always the result of an installation error — not a defective belt. The belt itself may be correct for the application; what killed it was how it was put on, tensioned, or aligned. The four mistakes covered here account for the majority of premature belt failures in industrial settings. They are also all preventable with the right technique.
Mistake 1: Prying Belts Onto Pulleys
This is the most damaging and most common installation error. When a technician pries a belt onto a pulley with a screwdriver, wrench, or any other lever, the blade concentrates enormous force on a small section of the belt's sidewall. That force damages or destroys the tensile cords running longitudinally inside the belt. A belt installed this way may run for days or weeks before the damaged cords fatigue and snap.
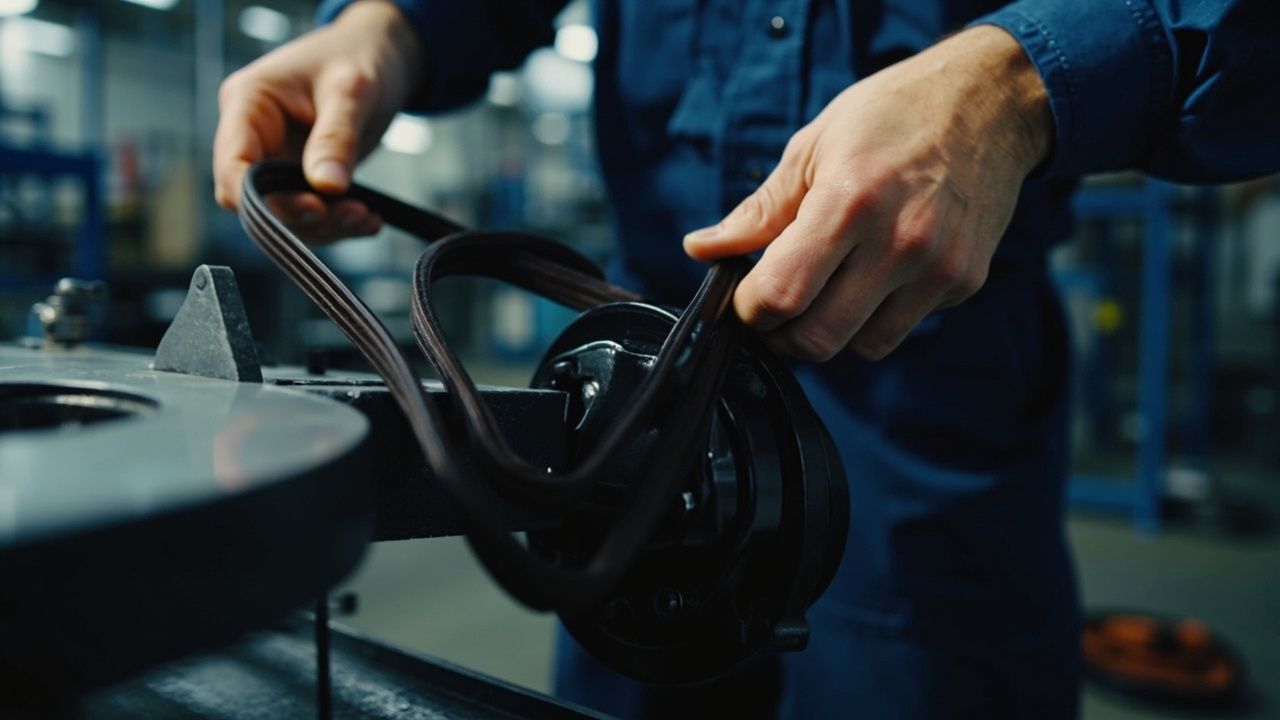
The correct method is straightforward: Loosen the motor mount bolts or the adjustable motor base. This reduces the center distance between pulleys, which opens the gap between the belt and the pulley grooves. Slide the belt onto both pulleys by hand — it should slip on easily when the mount is loose. Then tighten the motor mount to tension the belt.
Never force a belt onto a sheave. If the belt does not slip on easily with the motor mount loosened, either the belt is the wrong section (check top width and depth) or the pulleys are worn beyond specification.
Mistake 2: Incorrect Belt Tension
Belt tension is not intuitive — and the research is sobering. In testing of over 200 experienced maintenance personnel, only 1 percent were able to correctly tension a belt by feel. Most technicians tension belts to somewhere between 7 and 50 percent of the correct value when relying on thumb pressure and experience alone.
Under-tensioning causes belt slip, reduced power transmission, excessive heat buildup, and characteristic squealing at startup. Chronic slip generates frictional heat that glazed the belt sidewalls — a self-reinforcing failure mode. The belt becomes hard and shiny, loses grip, and must be replaced.
Over-tensioning does not solve slip — it destroys bearings. An over-tensioned belt places excessive radial load on motor and driven equipment bearings, dramatically reducing bearing life. The motor shaft, driven shaft, and bearing seals all suffer accelerated wear.
The force/deflection method is the most widely used tensioning approach. Using a belt tension gauge, apply a known force at the center of the belt span and measure how far the belt deflects. The general rule: set deflection at 1/64 inch per inch of span length under the specified force. Exact deflection force values vary by belt section and span length — consult manufacturer tensioning tables.
First-time tensioning requires extra attention. A new belt on its first installation should be set to 1.4 to 1.5 times the normal operating tension. This compensates for immediate tension loss during the run-in period. After running for 15 to 30 minutes, re-check and adjust to normal operating tension.
Tension loss after run-in is significant. High-quality belts lose approximately 50 percent of installed tension after running. Lower-quality belts can lose over 70 percent. This is normal — but it means re-tensioning at 24 to 48 hours after installation is a standard part of any belt replacement procedure.
For precision-critical applications, a sonic tension meter measures the belt's natural resonant frequency in hertz and converts it to tension using the formula T equals 4 times W times L squared times f squared (T = 4WL squared f squared). This eliminates the guesswork entirely.
Mistake 3: Misalignment
Misalignment wears belts unevenly and dramatically shortens service life. There are two distinct types, and both must be addressed:
Angular misalignment occurs when the pulley faces are not in the same plane. The belt enters one pulley at an angle and exits the other at a different angle, creating uneven sidewall loading and one-sided wear.
Parallel misalignment occurs when the pulley centerlines are offset laterally. The belt tracks to one side and rubs against the pulley flanges, wearing through the sidewall on one edge.
How to check alignment: Use a straightedge or, preferably, a laser alignment tool placed against the outer faces of both pulleys simultaneously. Check from multiple angles. Even 0.5 degrees of angular misalignment is sufficient to cause accelerated edge wear on classical V-belts.
A notable consideration for HVAC belts: HVAC motor pulleys are frequently adjusted manually in the field without precision alignment — which is why HVAC belt applications benefit from wider alignment tolerance. Some HVAC belt manufacturers engineer their products with ±3° angular misalignment tolerance to prevent belt turnover during routine motor adjustments. For general industrial drives, aim for alignment within 0.5 degrees; for HVAC drives, verify the manufacturer's published tolerance specification.
Worn sheave grooves are often the hidden cause of apparent misalignment. When pulley grooves are worn beyond specification — wider than the belt section — the belt sits low in the groove, its sidewalls no longer wedge effectively, and it exhibits symptoms that look exactly like misalignment: uneven sidewall wear, tracking problems, and vibration. Always check groove condition with a groove gauge before attributing symptoms to misalignment. If the belt bottoms out in the groove, replace the sheaves.
Mistake 4: Improper Storage and Pre-Installation Handling
Belts are perishable goods — they age even before installation. Exposure to heat, UV light, ozone, and certain chemicals degrades rubber compounds from the moment they leave the factory.
Storage requirements:
- Store belts in their original packaging, flat, in a cool, dry, dark environment.
- Temperature: 15 to 25 degrees Celsius is ideal. Storage above 40 degrees Celsius accelerates age hardening.
- Avoid UV exposure — sunlight and fluorescent lighting cause surface cracking, especially in neoprene compounds.
- Keep away from ozone sources: electric motors, welding equipment, and battery charging areas generate ozone that attacks rubber.
- Do not hang belts on hooks or pegs for long periods — the weight creates permanent deformation in the cross-section, causing vibration and uneven wear after installation.
Pre-installation inspection: Unwrap the belt and inspect it for any signs of surface cracking, hardening, or deformation before installation. Bend the belt sharply — a healthy belt should flex easily without cracking. If it feels stiff or brittle, return it.
The Matched Set Rule
In multi-belt drives, never install a new belt alongside an old one. Old and new belts have different stretch rates, different moduli, and different effective lengths under tension. The new belt will carry disproportionately more load, fail first, and then cascade into successive failures as each remaining belt takes an increasing share of the overload.
Always replace all belts on a multi-belt drive as a matched set from the same manufacturing lot. Quality belt suppliers stock matched sets for multi-belt configurations and mark belt sets with lot numbers to ensure consistent performance across all belts on the drive.
Quick Installation Checklist
Before starting the machine after a belt replacement, run through this checklist:
- Motor mount bolts fully tightened after tensioning.
- Belt fully seated in both pulley grooves — not sitting on top of the flanges.
- All belts in a multi-belt drive tensioned equally.
- Pulley grooves inspected and confirmed free of wear, debris, and old belt material.
- Sheave alignment verified with straightedge or laser tool.
- Belt guard re-installed and secure.
- Motor started and immediately checked for squeal, vibration, or unusual noise.
- Tension re-checked after 15 to 30 minutes of run-in.
Following these installation practices consistently will reduce premature belt failures, lower maintenance costs, and extend the service life of both belts and bearings across your plant. Quality industrial V-belt products are designed for reliable, long-life performance — but even the best belt will underperform if installation technique compromises it from day one.
Key Takeaway
What is the safest way to install a V-belt?
Loosen the drive center distance, place the belt by hand, align the sheaves, tension with a gauge, and recheck after run-in instead of prying the belt onto the pulley.
Need help matching the right belt? Review V-Belt and SP Power Belt, or contact SQUAREROPE for application support.