
V-Belt Failure Modes: What Your Belt Is Trying to Tell You
A V-belt does not fail without reason. Every crack, every glazed surface, every clean break tells a story about what happened in the drive system. The belt itself is the most honest component in your machinery — it will show you exactly where the problem is, if you know how to read it. Learning to interpret belt failure modes is one of the most cost-effective diagnostic skills a maintenance technician can develop, because it takes you directly to the root cause rather than wasting time on symptoms.
This guide covers the major failure modes you will encounter with industrial V-belts, what causes them, and what to do about them.
1. Chunking — Rubber Breaking Off in Pieces
What it looks like: Chunks of rubber — sometimes large pieces — break away from the belt surface, particularly from the cog notches in notched belts or from the sidewalls of wrapped belts.
What it means: Chunking is almost always a bending stress problem. In cogged belts, the notch geometry creates stress concentrations at the root of each cog. Run a cogged belt on a pulley that is too small, or subject it to excessive shock loads, and those stress concentrations exceed the rubber's fatigue limit. The result is progressive chunk delamination.
For wrapped belts, chunking usually indicates foreign object impact — something caught between the belt and pulley that deformed the belt body. It can also occur from severe overload.
The fix: Verify the pulley diameter meets the manufacturer's minimum sheave diameter specification for the belt section. For cogged belts, this is typically 20–30% smaller than the minimum for wrapped belts, but it is not zero. Quality cogged belts follow standard industry minimums — if in doubt, measure the drive pulley diameter and compare against section specifications. Also inspect the drive for debris sources and check for any history of overloading.
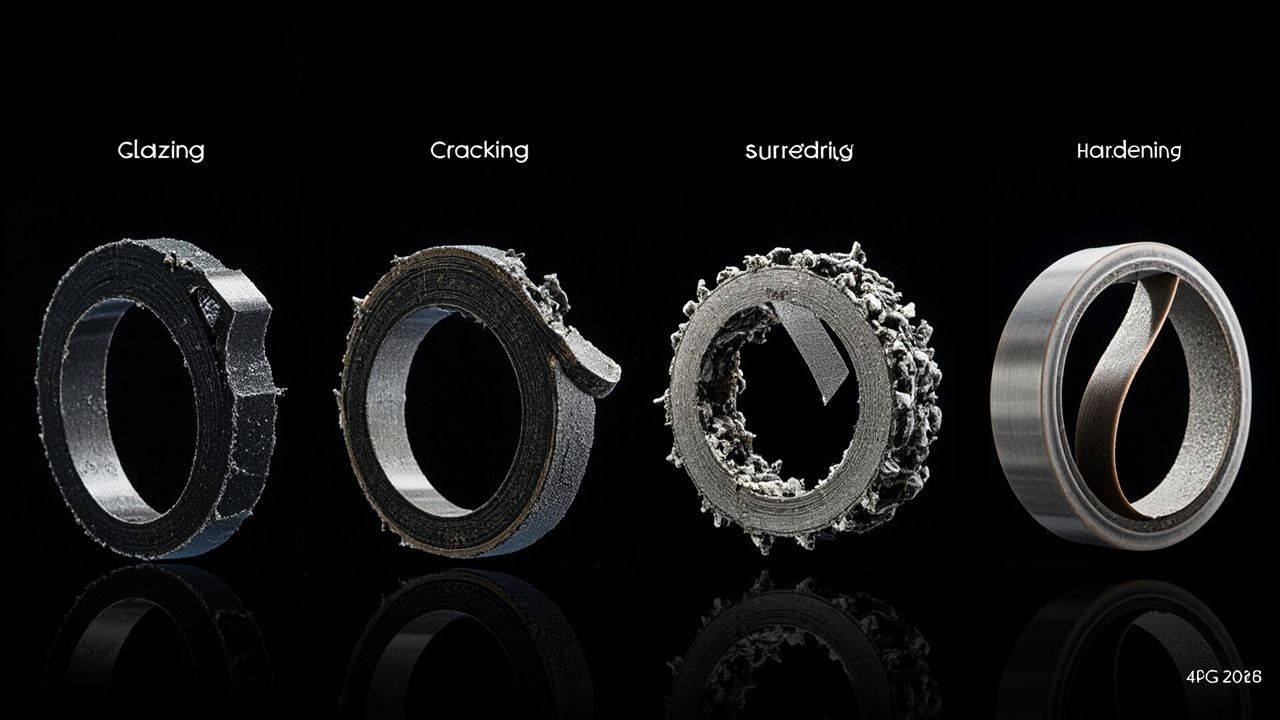
2. Glazing — Shiny, Hard, Polished Sidewalls
What it looks like: The belt sidewalls become smooth, shiny, and hard. The surface looks almost lacquered. This is self-reinforcing — a glazed belt slips more, which generates more heat, which polishes the surface further.
What it means: Glazing is the signature failure mode of chronic under-tensioning. When a belt is too loose, it slips micro-incrementally against the pulley groove walls. That friction generates heat, which heats the rubber surface and causes it to harden and polish. The polished surface is even more slippery, so slip increases. The cycle accelerates until the belt fails.
Worn pulley grooves can produce the same effect: if the groove walls are polished smooth by years of use, even a correctly tensioned belt cannot get sufficient grip.
The fix: Replace the belt — glazing cannot be reversed with dressing or surface treatment. Check the tension with a proper gauge and re-tension to specification. Most importantly: check the pulley grooves with a groove gauge. If the belt bottoms out in the groove — meaning the groove has worn wider than the belt's resting depth — the pulleys must be replaced. New belts on worn pulleys will glaze immediately.
3. Under-Cord Cracking — Cracks on the Inner Surface
What it looks like: Hairline cracks running transversely across the inside/back surface of the belt. The belt may feel stiff and brittle when you flex it.
What it means: Under-cord cracking is caused by excessive bending stress on belts that are too small for the pulley diameter they are running on. The tensile cords sit at the neutral axis of the belt cross-section; the rubber below the cords is compressed during bending, and the rubber above is stretched. On small pulleys, this bending strain is high enough to crack the compression-zone rubber over time.
Heat accelerates rubber aging when the drive operates beyond the compound range published for the exact belt series. Confirm the supplier temperature range before diagnosing a heat-related failure or specifying a replacement compound.
Ozone exposure, particularly near electric motors or welding equipment, also causes cracking on the belt surface. This is a different mechanism from under-cord cracking but produces similar-looking transverse cracks.
The fix: Verify that the pulley diameters meet minimum specifications for the belt section. For small-pulley applications, switch to cogged belts — the notch geometry distributes bending stress much more evenly, largely eliminating under-cord cracking in CR/chloroprene belts. Address heat sources. If the belt is old, replace it and check storage conditions (belts should be stored away from UV, ozone sources, and temperature extremes).
4. Belt Turnover — The Belt Flips Over in the Groove
What it looks like: The belt rolls sideways and runs on its edge instead of seated in the pulley groove. This is sometimes called belt turnover or belt flip. It is a catastrophic failure mode — the belt typically shreds within seconds of turning over.
What it means: A combination of forces is at work. Severe misalignment is the most common trigger: when the belt is not running straight in the groove, one side carries more load, creating a moment that rotates the belt. Shock loads or torque pulsation — common in reciprocating compressors and crusher drives — add dynamic forces that destabilize the belt's position. On vertical shaft drives, gravity pulls the slack-side belt leg downward, creating a similar rotational moment.
Worn pulley grooves make this worse: excess groove width lets the belt rotate freely within the groove instead of being held by the sidewalls.
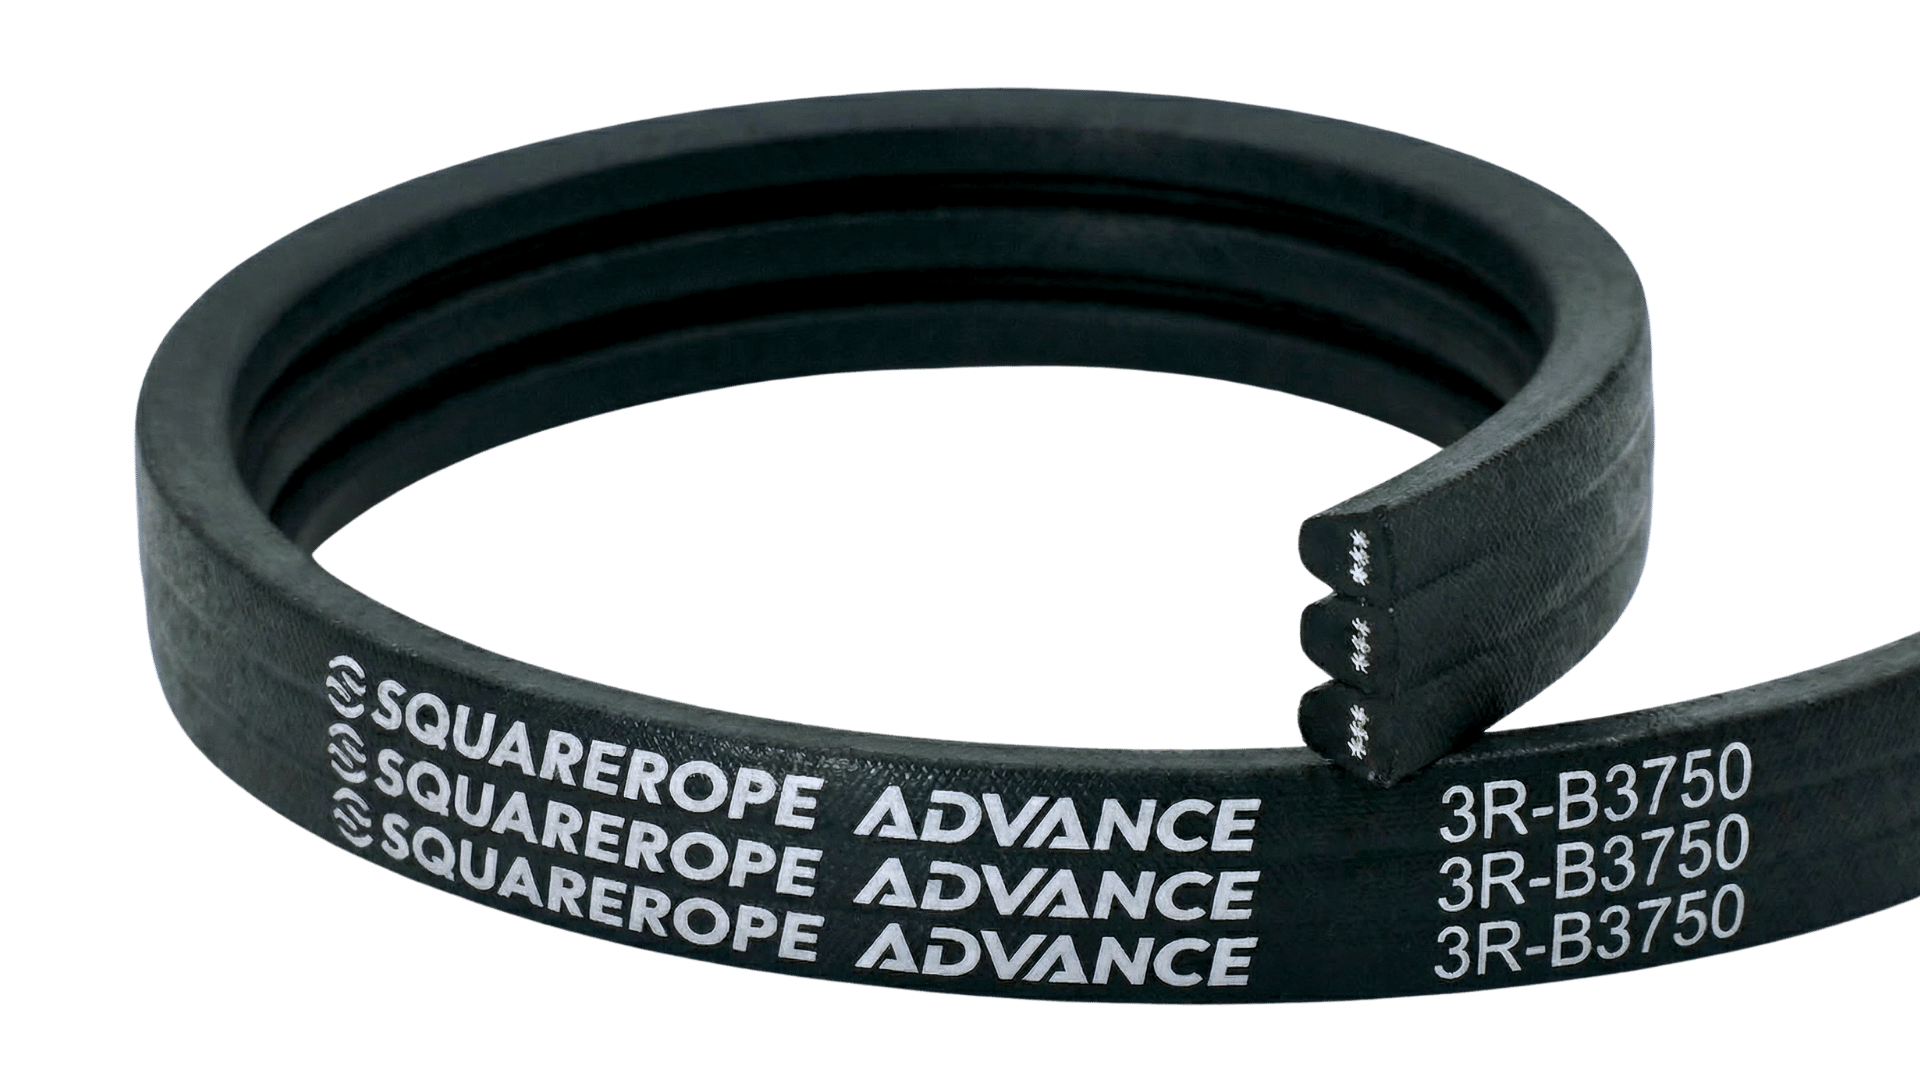
The fix: Precision-align the drive with a straightedge or laser alignment tool. On shock-load applications (reciprocating compressors, crushers), switch to banded V-belts. The tie-band on a banded belt physically prevents turnover — it cannot roll because the ribs are joined. This is one of the primary advantages of banded construction. Replace worn sheaves. Consider a soft-start motor controller to reduce torque spikes during startup.
Quality banded belts are designed for pulsating-load drives and high-vibration environments where turnover risk is elevated — the tie-band holds all strands in lateral alignment.
5. Edge Wear — One Side Wears Faster Than the Other
What it looks like: Belt wear is concentrated on one side edge. One sidewall is visibly thinner or frayed; the other looks normal. The wear pattern is asymmetric.
What it means: This is a misalignment signature. When the belt runs at an angle — whether from angular misalignment (pulleys not coplanar), parallel offset misalignment, a bent shaft, or worn bearings causing dynamic runout — one sidewall of the belt rubs against the pulley flange. The result is one-sided abrasion.
This failure mode is sometimes called "slicing" when severe, because the belt edge can be literally sliced by contact with a sharp or damaged flange.
The fix: Perform a full alignment check — both parallel and angular. Use a straightedge or laser alignment tool. Check shaft runout with a dial indicator. Inspect bearings for wear. Verify the belt section is correct for the groove — an undersized belt will sit low in the groove and rub the flange. Replace both belts and pulleys if wear is severe.
6. Belt Swelling — Softening, Enlargement, Surface Deterioration
What it looks like: The belt looks physically larger than it should. The rubber surface is soft, sticky, or crumbly. It may have an oily sheen or smell. The belt loses its grip and slips under load.
What it means: Chemical contamination. Hydrocarbon oils (petroleum oils, hydraulic fluid, gear oils) are the most common culprit — they are absorbed by the rubber and cause it to swell and soften. Non-polar solvents, coolants, and even some cleaning chemicals have the same effect. This is not a failure of the rubber compound per se; it is a mismatch between the operating environment and the compound's resistance profile.
CR/chloroprene has better resistance to some chemicals than neoprene, but neither compound tolerates hydrocarbon oils well. The oil-resistance requirements for industrial environments with oil mist or splash are typically handled by specialized NBR-blended or oil-resistant CR/chloroprene compounds.
The fix: Identify and stop the contamination source — repair the leaking bearing, seal the hydraulic line, install a belt guard to exclude oil mist. Clean the pulleys with a non-petroleum solvent. Replace the belt — a swollen belt cannot be restored. In oil-heavy environments, specify oil-resistant belt compounds and consider enclosed belt guards.
Fire hazard note: Running a belt contaminated with petroleum oil creates a fire risk. Do not operate a contaminated belt; replace it immediately.
Quick Diagnostic Reference
| Symptom | Most Likely Cause | First Action | |---------|------------------|--------------| | Chunking | Pulley too small; shock overload | Verify pulley OD vs. belt section spec | | Glazing | Chronic under-tension; worn grooves | Check tension; check groove wear | | Under-cord cracking | Small pulley; heat; age | Measure pulley OD; check belt age | | Belt turnover | Misalignment; shock load; vertical shaft | Align drive; use banded belt | | Edge wear (one-sided) | Misalignment; bent shaft | Full alignment check | | Belt swelling | Oil/chemical contamination | Find contamination source; replace belt | | Belt dust on sheaves | Chronic slip | Check tension; check groove condition | | Squealing at startup | Under-tension | Re-check and set correct tension |
Reading the Signs
Every belt failure is a data point. When a belt fails, examine it before you throw it away. The failure mode tells you what went wrong in the drive — not just what belt to order next. Build the habit of recording failure modes and you will find that belt life increases significantly, because you will start addressing root causes rather than just replacing parts.
Key Takeaway
What do V-belt failure marks usually mean?
Cracking, glazing, swelling, edge wear, or turnover usually point to tension, pulley wear, contamination, alignment, load, or compound mismatch rather than a random belt defect.
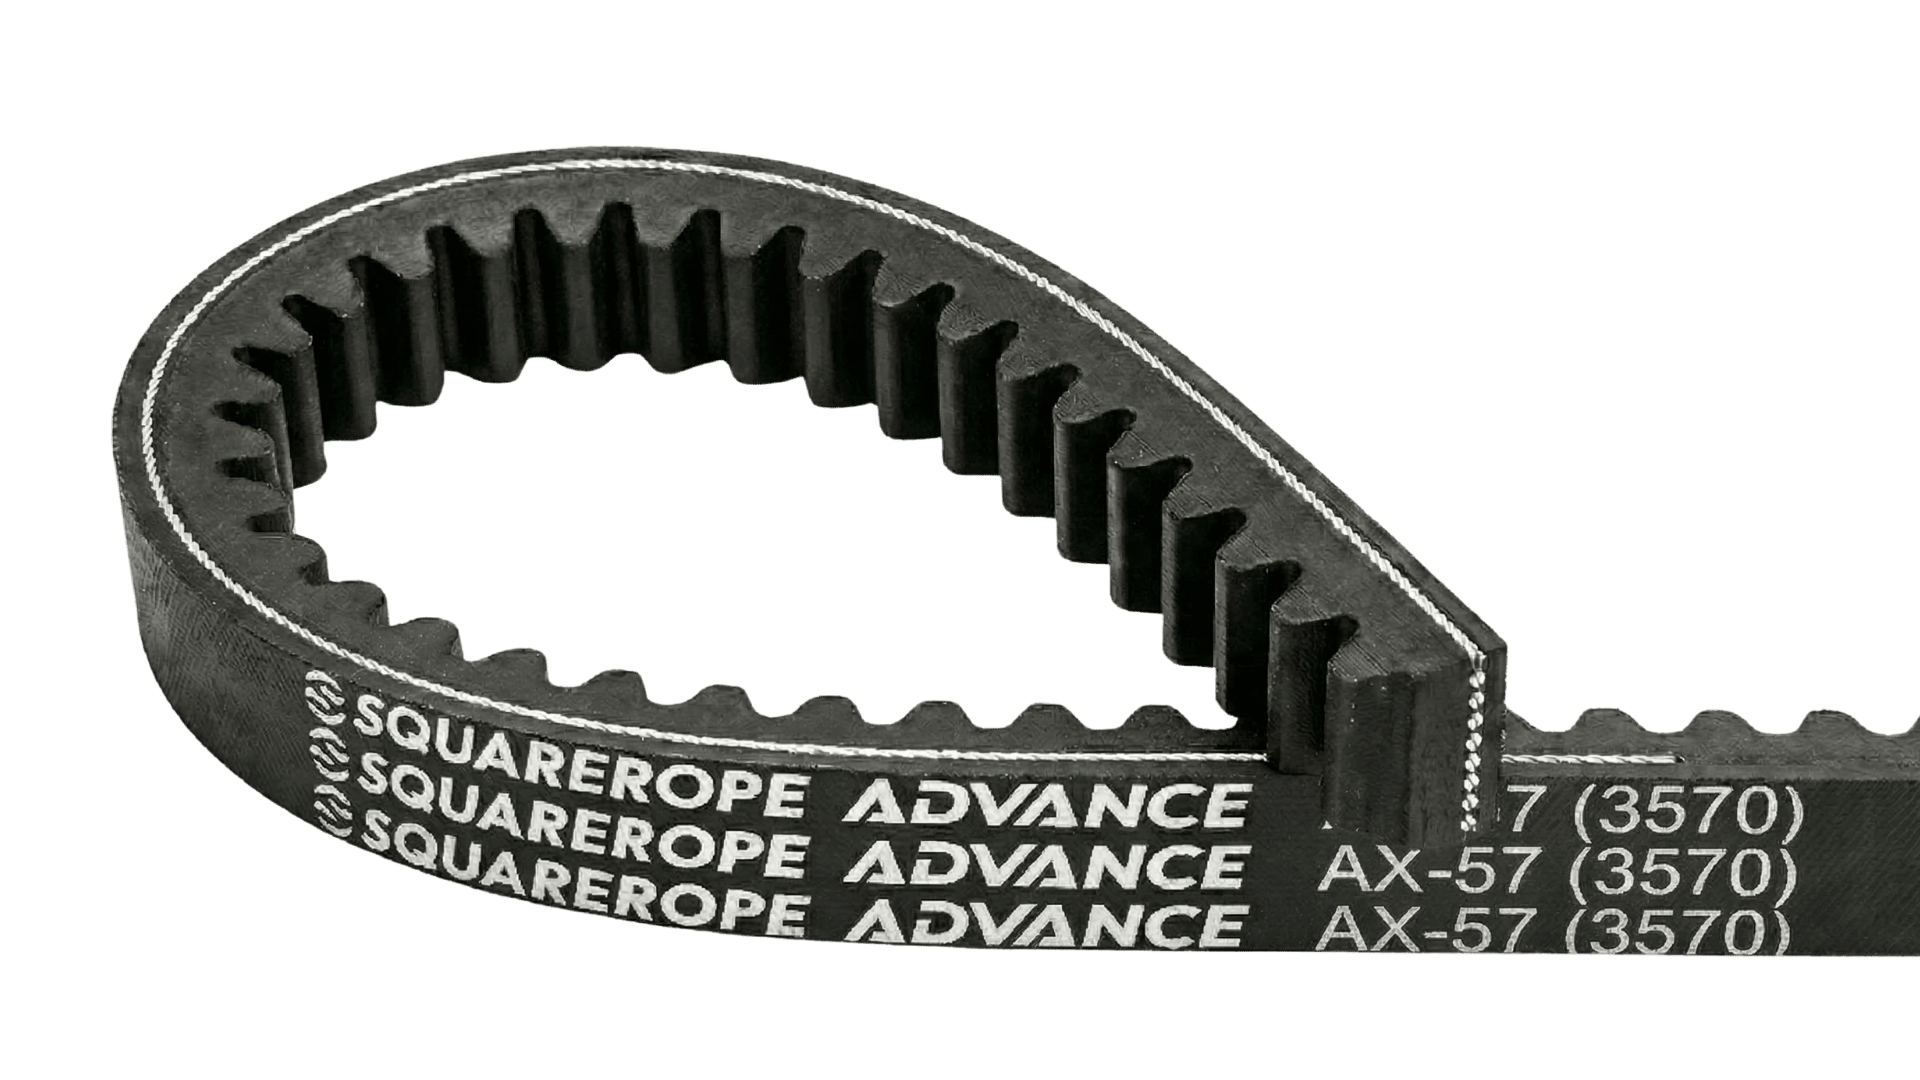
Need help matching the right belt? Review V-Belt and Cogged V-Belt (Non-Cogged Available), or contact SQUAREROPE for application support.